 Save
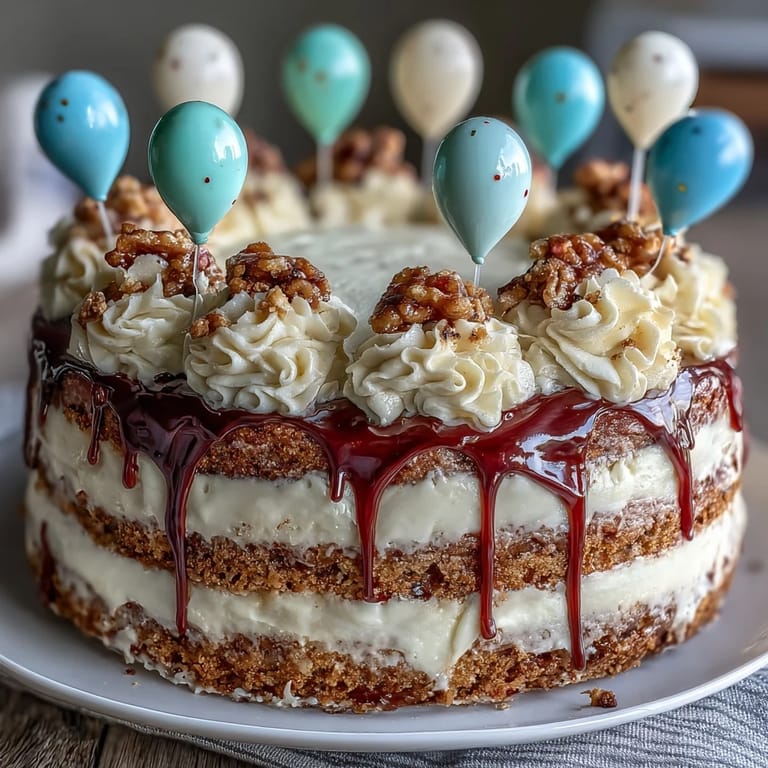
Save My sister called me three weeks before her graduation with that specific tone—the one that means she needs a favor but is too polite to ask directly. She wanted a two-tier cake with balloon toppers, something that would photograph well for all those cap-and-gown moments. I'd never made a tiered cake before, but standing in my kitchen that afternoon with flour dust catching the sunlight, I realized this wasn't just about baking; it was about marking a milestone with my own hands.
What I didn't expect was how the smell of vanilla and butter filling the house would bring my mom into the kitchen, asking to help with the assembly. We spent an hour just talking—about my sister's future, about how quickly time moves—while piping frosting and laughing when I got a smudge on my cheek. That cake became more than dessert; it became a memory we made together.
Ingredients
- All-purpose flour (4 1/2 cups): Make sure it's fresh and sift it if you have time; old flour can make cakes dense, and this one deserves to be tender.
- Baking powder (3 1/2 tsp): This is your lift, your promise of a fluffy crumb; don't skip it and don't substitute baking soda unless you know what you're doing.
- Unsalted butter (3 cups total): Room temperature is non-negotiable here—cold butter won't cream properly, and your cake will suffer for it.
- Granulated sugar (2 1/2 cups): The creaming step with butter is where the magic happens; don't rush it, give it a full five minutes.
- Large eggs (8 total): Room temperature eggs blend seamlessly into the batter, creating that silky texture that makes people ask for your recipe.
- Pure vanilla extract (4 tbsp combined): The good stuff makes a real difference; imitation extract tastes tinny against quality butter.
- Whole milk (2 cups): Room temperature milk incorporates smoothly; cold milk can cause the batter to seize slightly.
- Powdered sugar (8 cups): Sifting it takes two minutes and prevents lumpy frosting that looks grainy instead of smooth.
- Gel food coloring (optional): Gel won't thin your frosting like liquid dye does, and the colors stay vibrant longer.
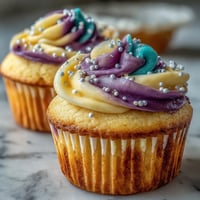
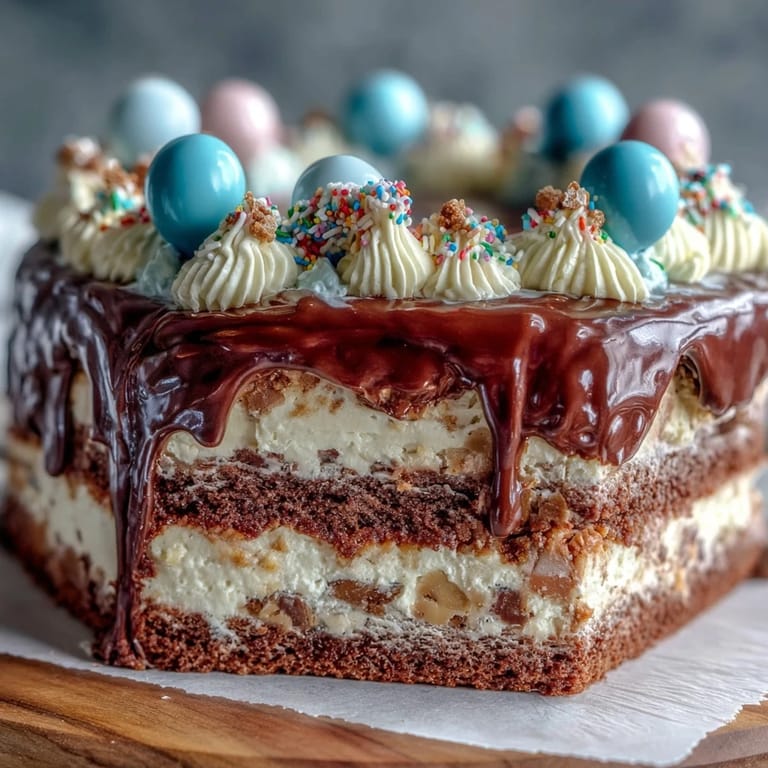
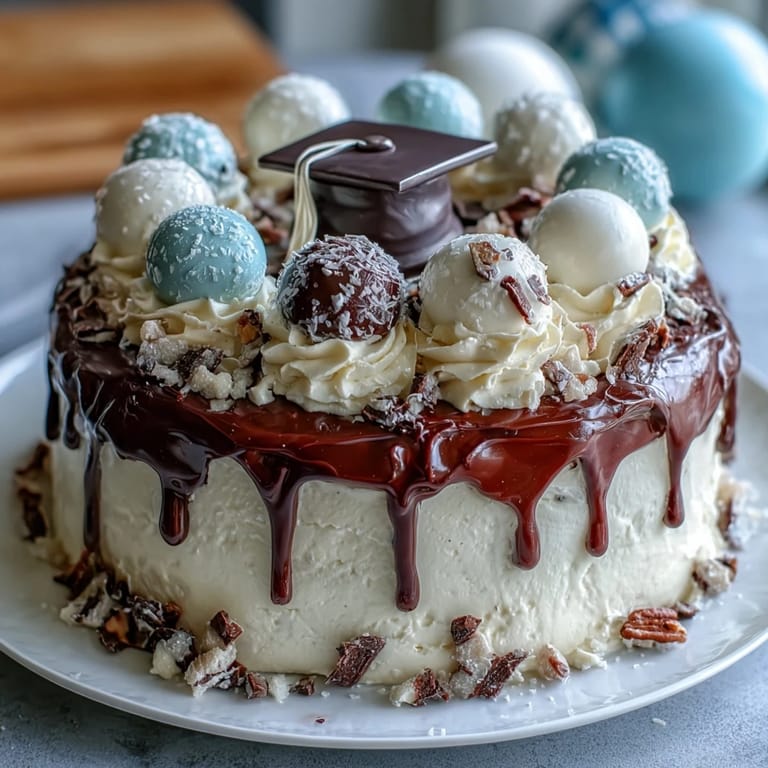
- Balloon cake toppers: These carry so much visual weight that your frosting doesn't need to be perfect; they distract beautifully.
Tired of Takeout? 🥡
Get 10 meals you can make faster than delivery arrives. Seriously.
One email. No spam. Unsubscribe anytime.
Instructions
- Prepare your pans and heat your oven:
- Set the oven to 350°F and grease both the 8-inch and 6-inch pans generously, then line them with parchment paper cut to fit the bottoms. This prevents sticking and lets you lift layers out cleanly without the edges tearing.
- Combine your dry ingredients:
- Whisk flour, baking powder, and salt together in a medium bowl, breaking up any tiny lumps in the flour as you go. This distributes the leavening evenly so you get consistent rise across both cake sizes.
- Cream butter and sugar until fluffy:
- Beat them together for at least three to five minutes until the mixture looks pale and cloud-like, almost doubled in volume. This incorporates air that makes the cake light instead of dense; you'll hear the mixer sound change as it aerates.
- Add eggs one at a time with patience:
- Drop each egg in, let the mixer run until it's fully blended, then add the next one; rushing this step creates scrambled-looking batter that won't bake evenly. After all eggs are in, mix in the vanilla extract until the batter smells incredible.
- Alternate flour and milk in three additions:
- Start with flour, then milk, then flour, and so on, keeping the mixer on low speed and scraping down the bowl between additions. This method prevents overmixing, which is the enemy of tender cake; you're aiming for just combined, not silky smooth.
- Divide batter between pans carefully:
- Pour equal amounts into the four pans so the smaller and larger cakes bake at similar rates; tap each pan gently on the counter to release air bubbles that could create tunnels in the crumb.
- Bake with attention to timing:
- The 8-inch cakes need 35 to 40 minutes while the 6-inch ones need only 25 to 30, so stagger them or watch carefully; a toothpick inserted in the center should come out clean or with just a few moist crumbs clinging to it.
- Cool cakes in their pans first:
- Let them rest for ten minutes so the structure sets slightly, making them less fragile when you turn them out onto wire racks. Complete cooling takes a couple of hours; this is when you can start the frosting or take a break.
- Make the buttercream frosting:
- Beat softened butter until it's creamy, then gradually add sifted powdered sugar while mixing; this prevents lumps and cloudiness. Once smooth, add vanilla, salt, and milk one tablespoon at a time until you reach spreadable consistency, then tint if desired.
- Level cake tops and assemble:
- If your cake tops are domed, trim them flat with a serrated knife so layers stack evenly; place one 8-inch layer on your cake board and spread a thin layer of frosting, then top with the second layer. Repeat for the 6-inch cakes, keeping them separate for now.
- Apply a crumb coat and chill:
- Cover each cake with a thin, almost see-through layer of frosting that seals in crumbs, then refrigerate for twenty minutes so this layer sets. This step prevents crumbs from mixing into your final frosting, keeping it pristine.
- Frost smoothly and stack with support:
- Apply the remaining frosting to both cakes in smooth, even layers using an offset spatula; if you have a turntable, it makes this easier, but patience works too. Carefully center the 6-inch cake on top of the 8-inch tier, using dowels or straws inserted into the bottom layer for support so the weight doesn't squish anything.
- Decorate with joy and confidence:
- Arrange balloon toppers around the top tier and sprinkle edible confetti or sprinkles if you like; step back and admire your work because you've just created something genuinely impressive.
 Save
Save When my sister saw that cake for the first time, she didn't just smile—she got quiet for a moment, which made it worth every ounce of concentration. A two-tier cake with her school colors piped into the frosting and balloons dancing on top suddenly meant that her achievement mattered enough for someone to spend hours getting it right.
Why Two Tiers Instead of One Large Cake
A two-tier cake photographs differently; it has presence and height that a single layer can't match. The larger bottom tier is actually easier to frost smoothly than one tall stacked cake, since you're working on a smaller surface area each time. Plus, psychologically, graduates see two tiers and think celebration; they see elegance before they even taste it.
The Alchemy of Room Temperature
This matters so much that it deserves its own moment of explanation. When butter, eggs, and milk are all the same warm temperature, they emulsify together into a batter that bakes evenly and rises predictably. Cold ingredients behave like strangers at a party; they don't mix well, they create lumps, and you end up with a cake that bakes unevenly no matter what you do. Pull everything out of the fridge thirty minutes before you start, no shortcuts.
Flavoring and Color Variations That Honor the Occasion
Vanilla is timeless, but if you want to add dimension, a teaspoon of almond extract mixed into the vanilla creates subtle complexity without tasting like you changed the recipe entirely. For frosting color, gel food coloring means you can match school colors without diluting the consistency; I've used every combination from navy and gold to purple and white, and the frosting always cooperates. A few creative decoration ideas to consider:
- Add lemon zest to the cake batter for brightness that pairs beautifully with vanilla frosting.
- Tint the frosting to match graduation colors, or do a two-tone effect by dividing it and coloring each half differently.
- Skip the balloons entirely and pipe small mortarboard shapes with fondant, or stick with simple elegance and let the cake speak for itself.
 Save
Save This cake is proof that you don't need decades of baking experience to create something that matters. Showing up with flour in your hair and a two-tier cake decorated with care is the kind of love that gets remembered long after the last crumb is gone.
Recipe FAQs
- → How do I ensure the vanilla sponge stays moist?
Use room temperature ingredients and avoid overmixing the batter. Baking at the correct temperature and testing with a toothpick helps retain moisture in the sponge.
- → What is the best way to assemble a two-tier cake securely?
Apply a thin crumb coat before chilling. Use dowels or straws inserted into the bottom tier to support the top tier for sturdy stacking.
- → Can I customize the buttercream color?
Yes, gel food coloring can be blended into the buttercream for vibrant, smooth coloring that complements the celebration theme.
- → What cooling time is recommended before decorating?
Allow cakes to cool completely on wire racks, approximately 1 hour, to prevent the buttercream from melting during decoration.
- → Are balloon toppers reusable or edible?
Balloon toppers are typically non-edible decorations made with food-safe sticks and balloons, meant for display and reuse.