 Save
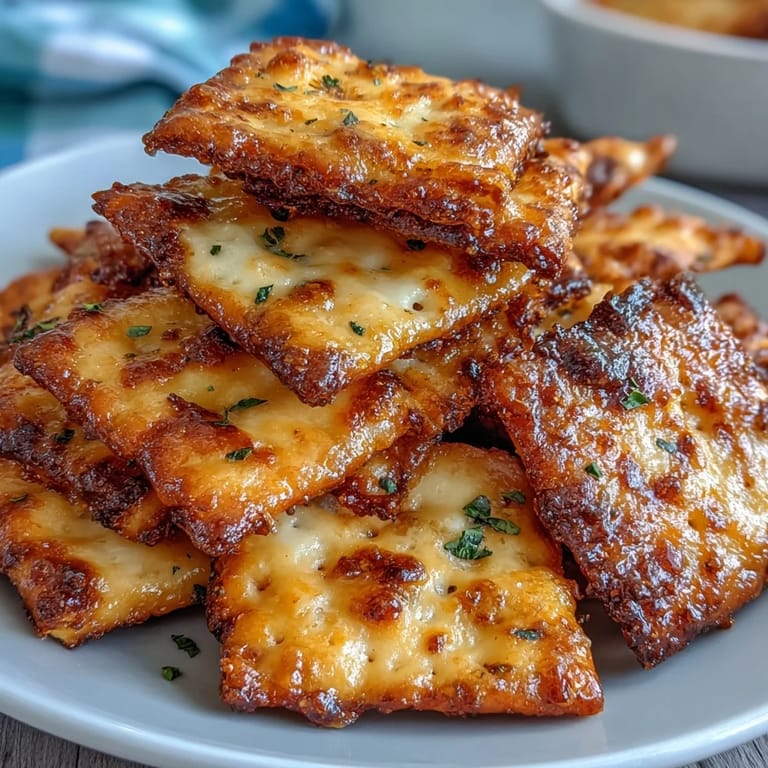
Save Last summer, I was packing for a farmers market trip and realized I'd grabbed a container of sourdough starter that needed feeding. Rather than waste it, I started playing around with the idea of turning it into something crispy and portable. The result was these tangy sourdough Cheez-Its, and suddenly my picnic setup felt intentional rather than thrown together. Paired with fresh grapes that catch the light when you open the box, this snack felt less like leftovers and more like a moment I'd actually planned for myself.
My neighbor watched me assemble these boxes on my kitchen counter and asked if I was starting a fancy lunch business. I laughed, but there was something satisfying about how the golden crackers looked next to the jewel-toned grapes in those clear containers. She ended up taking a box on a hike that weekend and texted me a photo from a mountain vista. That's when it clicked that good snacks aren't just about taste—they're about the moments they create.
Ingredients
- Sharp cheddar cheese, grated (120 g): The star of the show—sharp varieties give you that punchy flavor without needing extra seasonings, and grating it fresh makes a real difference in how the dough comes together.
- All-purpose flour (60 g): Just enough to give structure without making the crackers dense or heavy.
- Unsalted butter, cold and cubed (30 g): Cold butter is your friend here; it creates those little pockets that make the crackers snap when you bite them.
- Sourdough starter (2 tbsp): This is where the magic lives—use whatever you have on hand, whether it's active or discard, fed or unfed, it all works beautifully.
- Salt and paprika (1/4 tsp each): Salt brightens everything, and paprika adds a whisper of warmth that makes people wonder what your secret ingredient is.
- Cold water (1-2 tsp): Add this sparingly; you're just coaxing the dough together, not making it wet.
- Seedless grapes, red or green (200 g): Wash and dry them thoroughly so they stay crisp in the box and don't weep onto your crackers.
- Optional roasted nuts or dark chocolate (30-40 g): These are your flavor insurance—if you want the snack box to feel more indulgent, they're the move.
Tired of Takeout? 🥡
Get 10 meals you can make faster than delivery arrives. Seriously.
One email. No spam. Unsubscribe anytime.
Instructions
- Get your oven ready:
- Preheat to 180°C (350°F) and line a baking sheet with parchment paper. This step takes two minutes but saves you from scrambling later when the dough's ready to bake.
- Pulse the base:
- In a food processor, combine cheddar, flour, butter, salt, and paprika, then pulse until it looks like breadcrumbs. You'll hear the butter breaking down and see the cheese start to coat everything—this is exactly right.
- Bring in the sourdough:
- Add the sourdough starter and pulse again until a shaggy dough just begins to form. If it seems too dry, add water one teaspoon at a time and pulse once more until it holds together when you squeeze it gently.
- Roll it out:
- Place the dough between two sheets of parchment paper and roll until it's about 3 mm thick. You want it thin enough to be crispy but thick enough to hold its shape in the oven.
- Cut and poke:
- Cut the dough into 2 cm squares using a sharp knife or pizza cutter, then use a skewer or fork to poke a hole in the center of each one. This detail feels fussy but it's what makes them look like real Cheez-Its.
- Arrange on the sheet:
- Transfer the squares to your prepared baking sheet with a little space between each one so steam can circulate and they can crisp up evenly.
- Bake until golden:
- Bake for 16–18 minutes until they're deep golden and smell incredible. When you pull them out, they'll still feel soft, but they'll crisp up as they cool.
- Cool completely:
- Let them sit on the baking sheet for a few minutes, then transfer to a wire rack. This matters more than it sounds—waiting for them to cool is when the crispness really happens.
- Pack your boxes:
- Divide the Cheez-Its and grapes evenly among four containers. Add nuts or chocolate if you're feeling it, seal them up, and you're ready to go.
 Save
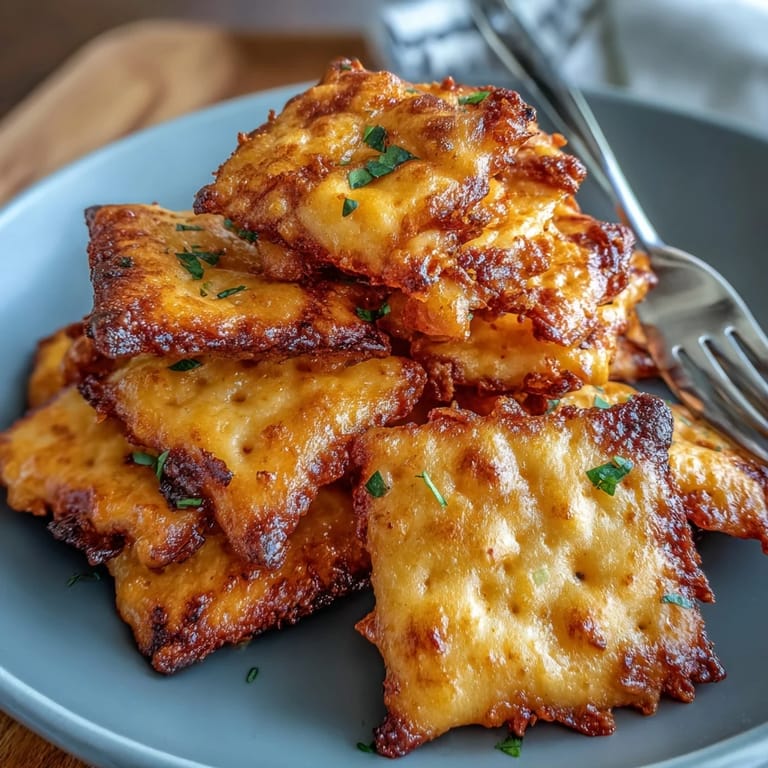
Save I made these for a friend going through a rough week, tucking a box into her car before a long drive. She called me three hours later just to say the moment she opened it and saw those golden crackers next to the grapes, something about the day felt a little less heavy. Food does that sometimes—it's not magic, but it's close.
Why Sourdough Discard Changes Everything
Using sourdough starter instead of extra salt or yeast gives these crackers a depth that feels almost unearned given how little effort went in. The fermentation creates those subtle tangy notes that linger on your palate, and because you're using discard, there's something satisfying about turning what would've been trash into something worth sharing. It's the kind of kitchen move that makes you feel resourceful and clever without actually being complicated.
The Assembly and Storage Magic
Once your crackers are cooled, storing them in an airtight container with grapes feels almost too simple, but the separation between crispy and juicy is what makes this snack box sing. I've learned that if you want them to stay crisp for a few days, keep the crackers and grapes in separate sections or compartments—it only takes a moment to pack them this way and it extends the shelf life significantly. The grapes actually stay fresher when they're isolated from the crackers' steam, and everything tastes better when it's exactly the texture you expect.
Creative Variations and Flavor Swaps
Once you understand how these work, you can start experimenting with different cheeses—Gruyère brings an earthiness that's unexpectedly lovely, and smoked cheddar turns them into something completely different. I've also tried adding a tiny pinch of cayenne pepper instead of paprika when I want something with a little heat, and fresh apple slices mixed with the grapes create a contrast that feels more sophisticated. The beauty of this snack is that it's forgiving enough for experimentation but structured enough that it's hard to mess up.
- Keep a batch of cooled Cheez-Its in an airtight container for up to five days and assemble fresh boxes each morning.
- Try pairing with other fruits like blackberries or apple slices if you want to switch things up from grapes.
- Make a double batch and freeze unbaked squares on a baking sheet—bake from frozen adding just two extra minutes, perfect for unexpected guests.
 Save
Save This snack box became my answer to those moments when you want something homemade but don't have time for a production. It's the kind of thing that proves the best recipes aren't always the most complicated—they're just the ones you actually make.
Recipe FAQs
- → What gives the cheddar bites their tangy flavor?
The tangy flavor comes from the sourdough starter incorporated into the cheddar dough before baking, adding a subtle fermented note.
- → Can I use other types of cheese instead of sharp cheddar?
Yes, Gruyère or other hard cheeses can be substituted to vary the flavor profile while maintaining a rich, savory taste.
- → How should I store the snack box for freshness?
Store the baked cheddar squares in an airtight container to maintain crispness, and keep the grapes refrigerated separately until ready to serve.
- → What is the best way to cut and prepare the cheddar dough?
Roll the dough thin between parchment papers, then cut into small squares and poke a small hole in the center before baking to create the classic texture.
- → Can nuts or chocolate be included safely in the snack box?
Yes, optional roasted nuts or dark chocolate squares add a complementary crunch or richness but should be noted for allergies.