Save
Save There's something magical about standing in front of the microwave at 10 PM, craving chocolate but too tired to commit to a full bake. That's when I discovered that Oreos and a mug could turn into actual cake in less time than it takes to find a clean bowl. The first time I made this, I was skeptical—how could crushing cookies into milk possibly work?—but two minutes later, I had warm, fudgy chocolate cake I could eat straight from the mug with a spoon.
I made this for my roommate at midnight when she was stressed about a presentation, and watching her face light up when she tasted it from the mug—still warm, still slightly underbaked in that perfect way—made me realize this wasn't just a shortcut dessert. It became our thing. Now whenever someone's had a rough day, I ask them if they want their mug cake.
Ingredients
- Oreo cookies: Four whole cookies are the heart of this cake; they crumble into the batter and melt into fudgy pockets, so don't skimp or use stale ones.
- Milk: This activates the cookie crumbs and keeps the cake impossibly moist, though you can swap it for oat milk or almond milk if that's what you have.
- All-purpose flour: Just enough to give structure without making it dense or cakey in a bad way.
- Granulated sugar: Optional because Oreos are already quite sweet, but I add it when I'm feeling indulgent.
- Baking powder: The tiny bit that makes this feel like actual cake instead of just warmed-up cookie paste.
- Egg: One small egg binds everything and adds richness; make sure it's at room temperature or it won't mix smoothly into the cold filling.
- Vanilla extract: A half teaspoon adds subtle depth, but the recipe works beautifully without it if you don't have any.
Tired of Takeout? 🥡
Get 10 meals you can make faster than delivery arrives. Seriously.
One email. No spam. Unsubscribe anytime.
Instructions
- Crush the Oreos:
- Place four whole cookies directly into your microwave-safe mug and use a fork to break them into small, fine crumbles. You want them mostly uniform so they distribute evenly through the batter—this takes about a minute and is honestly meditative.
- Make a paste:
- Pour the milk over the crumbles and stir for about thirty seconds until it looks like wet sand, then keep stirring until a thick, fudgy paste forms. This is where the magic begins; the Oreo filling dissolves and the cookie pieces soften into submission.
- Build the batter:
- Sprinkle the flour, baking powder, and sugar (if using) over the paste and stir gently until no streaks of dry flour remain. The batter should be thick but pourable, with visible flecks of cookie throughout.
- Add the binding:
- Crack the egg directly into the mug, add vanilla if you're using it, and mix until the batter is smooth and everything is fully incorporated. You shouldn't see any egg white streaks or flour lumps at this point.
- Microwave with care:
- Set the microwave to high and cook for 1 minute 30 seconds. The cake will puff up slightly and the top will look mostly set but still slightly jiggly in the center—that's exactly right. If it looks too wet, give it another 10 to 20 seconds, but resist the urge to overcook it.
- Rest and enjoy:
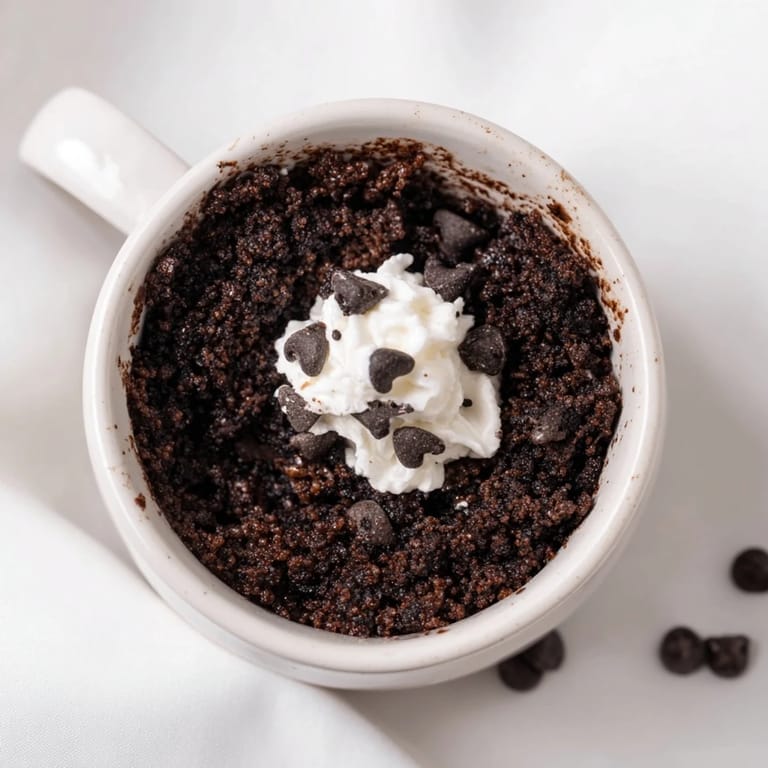
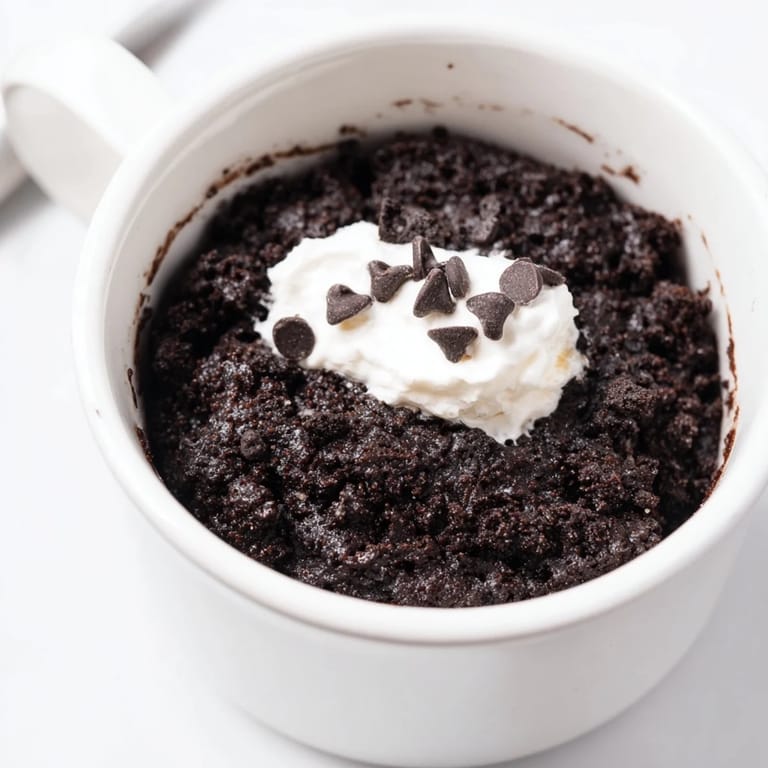
- Let it cool for just a minute or two so you don't burn your mouth on molten chocolate cake. Grab a spoon and eat it straight from the mug while it's still warm and the texture is somewhere between cake and warm chocolate sauce.
 Save
Save There's a moment right when you pull the mug out and the steam rises, and you realize you've made actual dessert in the time it takes to heat water for tea. That small victory, that chocolate-scented relief, is why I keep coming back to this recipe.
Why This Works
The genius of this cake is that Oreos already contain everything a cake needs—fat from the filling, cocoa flavor, sweetness, and structure—so you're really just adding enough binder and structure to make it cook evenly in the microwave. The milk softens the cookies into almost a brownie-like base, the egg holds it together, and the tiny bit of flour and baking powder transforms it from cookie paste into something that actually rises and sets. It's less about following a formula and more about understanding that cookies are basically dry cake, and a little moisture and heat turns them back into something tender and warm.
Customization Is Part of the Fun
The base recipe is a canvas, and I've filled it with everything from mini chocolate chips (added before microwaving) to a spoonful of peanut butter swirled in halfway. My favorite version involves crushed Thin Mints instead of regular Oreos, which makes it taste minty and sophisticated despite taking three minutes. You can also play with toppings—a scoop of vanilla ice cream melts into the warm cake, whipped cream turns it into a dessert parfait, and a drizzle of chocolate syrup feels fancy for something made in a mug.
Storage and Make-Ahead
The beauty of a mug cake is that there's nothing to store—you make it, you eat it, you're done. But if you're feeling slightly more organized, you can prep the dry ingredients (crushed Oreos, flour, baking powder, sugar) in a small container ahead of time, then just add milk and egg when you're ready. The whole thing comes together so fast that advance prep feels unnecessary, but it's nice to know you could have dessert ready in literally ninety seconds if you needed it.
- Pre-crushing cookies ahead of time means you can go from craving to eating in one and a half minutes flat.
- Make sure your mug is truly microwave-safe; ceramic works best, and avoid anything with metallic trim.
- If you're doubling this for two people, just use two mugs and cook them simultaneously side by side.
 Save
Save This recipe proved to me that the best desserts aren't always the most complicated—sometimes they're the ones you can make without thinking, in a single mug, at any hour of the day or night. It's become the cake I reach for when I want something warm and chocolate and immediate, and I hope it becomes that for you too.
Recipe FAQs
- → How do I crush the Oreo cookies effectively?
Place the Oreos in a microwave-safe mug and use a fork to thoroughly crumble them until finely crushed for a smooth batter.
- → Can I substitute ingredients in the batter?
Yes, self-raising flour can replace the flour and baking powder combined for similar rising effect.
- → What is the best microwave time to avoid dryness?
Microwave for 1 minute 30 seconds, then check moisture and add 10–20 seconds if necessary to keep the cake moist.
- → Are there suggested toppings for extra flavor?
Whipped cream, chocolate chips, or a scoop of vanilla ice cream complement the cake well for added richness.
- → Is this suitable for vegetarian diets?
Yes, the cake contains no meat products and fits vegetarian dietary preferences.