 Save
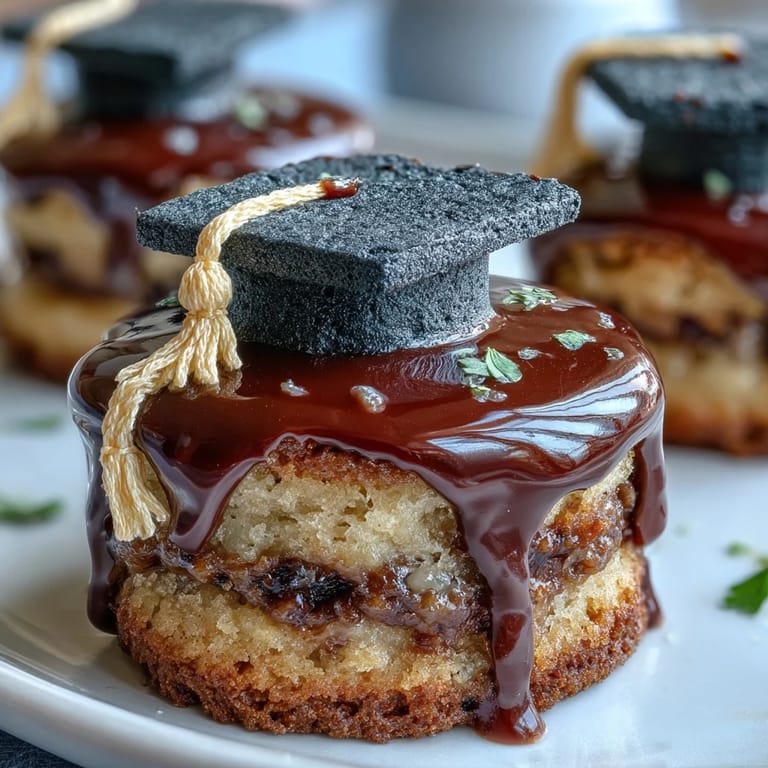
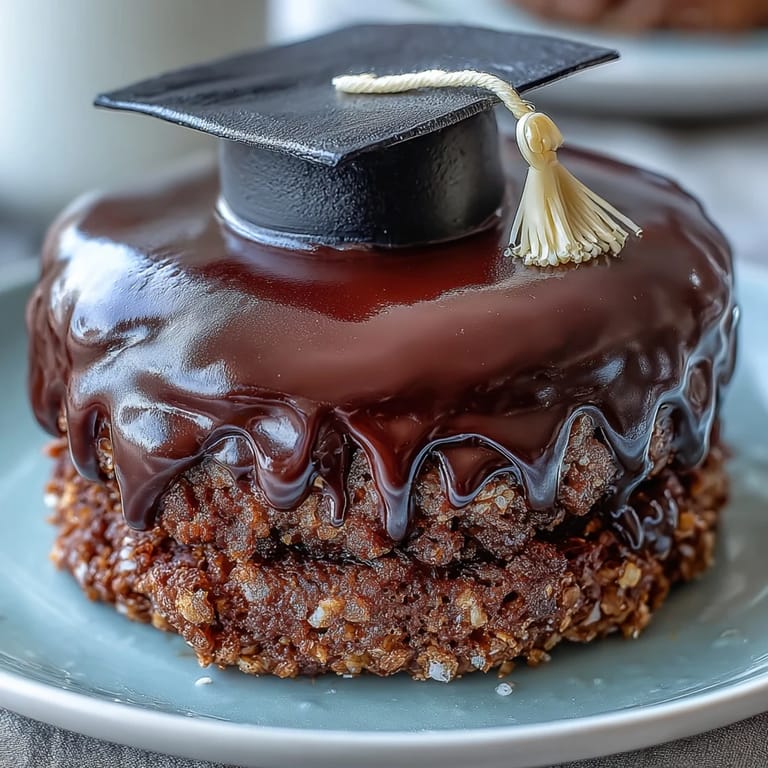
Save My niece's graduation day arrived with the kind of sunshine that makes you want to do something special, and I found myself standing in the kitchen at dawn, thinking about how to make her celebration feel personal. Sugar cookies had always been our thing—something we'd baked together during lazy summers—so naturally, I wanted to dress them up with tiny fondant mortarboards, a little edible nod to her big moment. The first batch turned out wobbly and imperfect, but watching her face light up when she saw them made every sticky finger and flour-dusted apron worth it. Now whenever I make these, I'm right back in that kitchen, catching the scent of vanilla and remembering that sometimes the most meaningful gifts are the ones you get messy making.
There's something about watching a room full of people reach for a cookie and pause just to admire it before eating that never gets old. At my niece's open house, these little mortarboards sat on tiered cake stands, and I swear people took photos before biting into them—the fondant hats held just long enough for that Instagram moment, then melted on the tongue in a buttery rush. One guest asked for the recipe thinking they were store-bought, which felt like the highest compliment possible.
Ingredients
- All-purpose flour: This is your foundation, and measuring by weight (315 g) keeps your cookies from turning dense or cake-like, though scooping and leveling with a knife works fine if you don't have a scale.
- Baking powder: Just a half teaspoon gives these cookies their tender crumb without making them cakey.
- Salt: A small but essential pinch that makes every other flavor pop.
- Unsalted butter: Softened means it creams better, giving you that light, fluffy base that makes these cookies melt on your tongue.
- Granulated sugar: One cup creates the perfect sweetness without overpowering the vanilla.
- Egg: Binds everything together and adds richness.
- Vanilla extract: Two teaspoons of the pure stuff—not imitation—makes a real difference in flavor.
- Black fondant: Eight ounces is just right for twenty-four mortarboard tops; buy it pre-colored to save yourself an hour of kneading.
- Yellow fondant: A single ounce becomes those delicate tassels, and it's forgiving if your rolling isn't perfect.
- Cornstarch: Your best friend when working with fondant so it doesn't stick to everything.
- Powdered sugar and milk: Mixed into a simple icing that holds the fondant pieces in place and gives you an extra layer of sweetness.
Tired of Takeout? 🥡
Get 10 meals you can make faster than delivery arrives. Seriously.
One email. No spam. Unsubscribe anytime.
Instructions
- Get Your Oven Ready and Gather Your Tools:
- Preheat to 350°F and line two baking sheets with parchment paper so your cookies don't stick and brown evenly on the bottom. Having everything prepped means you're not scrambling once the dough comes together.
- Mix Your Dry Ingredients:
- Whisk flour, baking powder, and salt in a medium bowl, breaking up any flour lumps as you go. This distributes the leavening evenly so your cookies rise gently and uniformly.
- Cream Butter and Sugar Until Fluffy:
- Beat them together for two to three minutes until the mixture is pale and airy—this is where the magic starts, trapping tiny air bubbles that make cookies tender rather than dense. Listen for the mixer to sound almost light, like you're whipping air into butter.
- Add Egg and Vanilla:
- Beat until completely combined, scraping down the bowl to make sure nothing hides underneath. This step takes just a minute but creates the emulsion that holds everything together.
- Combine Wet and Dry:
- Fold the dry mixture into the creamed butter gently, mixing just until the last flour streaks disappear. Overmixing develops gluten, which toughens cookies, so stop while you still see a few faint white streaks.
- Roll and Cut Your Cookies:
- Place dough on a lightly floured surface and roll to 1/4-inch thickness, then cut into rounds or squares about 2 1/2 inches across. Work quickly so the dough stays cool; if it warms up and gets sticky, pop it back in the fridge for a few minutes.
- Bake Until Golden at the Edges:
- Place cookies on prepared sheets and bake for ten to twelve minutes—the centers should still look slightly underbaked while the edges turn just golden. They keep cooking on the hot pan as they cool, so don't wait for the centers to brown or you'll end up with crispy cookies instead of tender ones.
- Cool Completely Before Decorating:
- Transfer to a wire rack and let them sit until they're room temperature and completely firm. Warm cookies will make your fondant slide right off.
- Prep Your Fondant Mortarboards:
- Dust your work surface with cornstarch and roll black fondant to 1/8-inch thickness, then cut twenty-four small squares for the mortarboard tops. Roll twenty-four tiny cylinders about 1/2-inch long for the base pieces that give the mortarboards dimension.
- Shape Your Yellow Tassels:
- Roll yellow fondant into thin ropes and cut into 1-inch pieces, shaping them however you like—loose curls look charming. Don't overthink this part; imperfect tassels actually look more handmade and special.
- Make Your Icing:
- Mix powdered sugar, milk, and vanilla until you have a smooth, spreadable consistency that's thick enough to hold things in place but thin enough to pipe if you want. If it's too thick, add milk a few drops at a time.
- Assemble Your Decorated Cookies:
- Use a small dab of icing on the back of each fondant square and press it to the center of a cooled cookie, then place a fondant cylinder underneath it like a little stand. Add a dot of icing to one corner and press on a yellow tassel so it dangles just slightly.
- Let Everything Set:
- Allow the decorated cookies to sit for twenty to thirty minutes so the icing dries and holds everything firmly in place. This prevents the mortarboards from sliding around when you stack or package them.
 Save
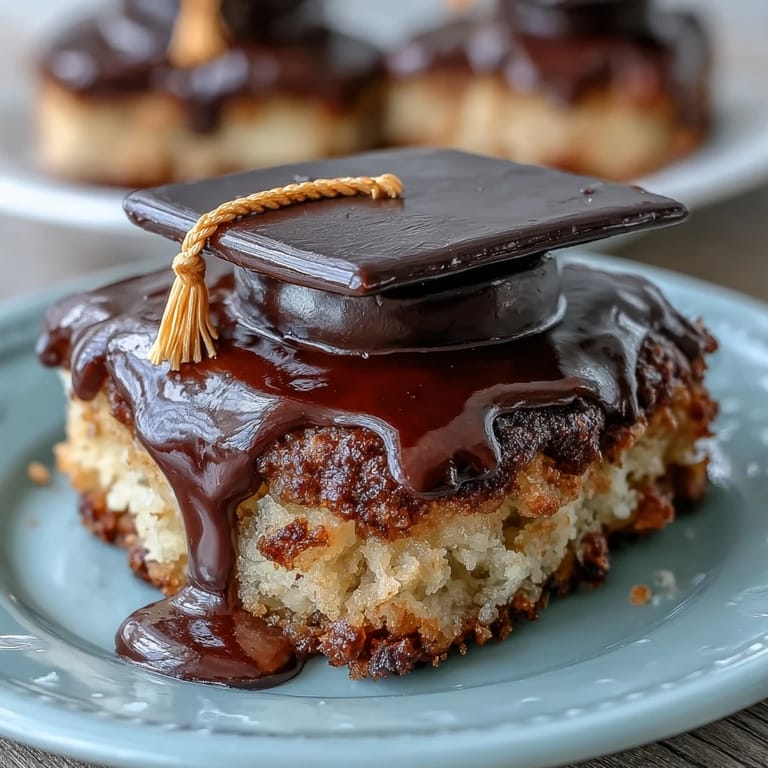
Save There was a moment during my niece's graduation party when her grandmother picked up one of these cookies and just held it for a second, studying the tiny mortarboard like it was the most thoughtful thing anyone could have made. That's when I understood these weren't just cookies—they were edible memories, something her guests would remember long after the cake was gone. Food has a way of becoming part of a story, and these little graduates sat right at the center of hers.
How to Customize for School Colors
The fondant takes color beautifully, so if your graduate's school colors are purple and gold, or navy and silver, you can tint fondant to match. Buy black fondant as your base and knead in a tiny amount of gel food coloring—it's more concentrated than liquid coloring and won't make your fondant wet and sticky. You can also use white fondant instead of black and create a completely different look that feels more elegant and less mortarboard-specific, turning the design into something more abstract and modern.
Storage and Make-Ahead Tips
These cookies keep beautifully in an airtight container for up to five days, and the fondant actually helps protect them from drying out. If you're planning ahead for a big celebration, you can bake the cookies a day or two early, then decorate them the day before your event—the icing sets hard overnight and creates an even stronger bond.
When Life Gets Busy
Not everyone has hours to spend on cookie decorating, and that's completely okay. You can swap shortcuts without losing the heart of the recipe—store-bought sugar cookie dough bakes beautifully if you're short on time, and pre-colored fondant eliminates the kneading step entirely. The fondant pieces are simple enough that even messy, wonky mortarboards look charming and handmade, which is exactly the point.
- Buy fondant in the baking aisle already tinted to match your school colors and skip the coloring step entirely.
- Make the dough a week ahead and freeze it, then thaw overnight and bake fresh on your event day.
- Set up a simple decorating station and invite friends to help—turning cookie assembly into a group activity makes it feel less like work.
 Save
Save These cookies celebrate the people we love, marking moments they'll carry with them forever. Whether you're baking for someone's graduation or any milestone worth honoring, these little mortarboards do the talking for you.
Recipe FAQs
- → What flour works best for these cookies?
All-purpose flour provides the ideal texture, balancing tenderness and structure for clean cookie shapes.
- → How can I prevent fondant from sticking?
Dust your work surface and rolling pin lightly with cornstarch to keep fondant smooth and manageable.
- → Can I prepare the fondant decorations ahead of time?
Yes, fondant pieces can be shaped and stored in an airtight container for several days before assembly.
- → What's the best way to store these cookies?
Keep cookies in an airtight container at room temperature; they remain fresh for up to 5 days.
- → How do I achieve sharp edges on the cookies?
Roll dough evenly to 1/4-inch thickness and use sharp cookie cutters for clean, defined edges.