 Save
Save My friend texted me a photo of wings from her favorite sports bar, and I immediately knew what she wanted: that fiery, tangy Buffalo flavor. The thing is, she'd gone vegan six months earlier, and I wasn't about to let that stop us. I started experimenting with cauliflower that weekend, and by the third batch, I nailed it—crispy on the outside, tender inside, and absolutely addictive. Now when she visits, these bites disappear faster than I can make them.
I remember bringing a tray to my brother's game night, not knowing half the guests were plant-based. Everyone went silent for about thirty seconds, and then the bowl was empty. Someone asked if I'd bought them from a restaurant, and when I said I made them, the kitchen suddenly got very interested in what I was doing. That moment made me realize this recipe was special—it doesn't feel like a substitute for anything; it stands completely on its own.
Ingredients
- 1 large head cauliflower, cut into bite-sized florets: Choose a head that's dense and compact; the florets should be roughly the size of your thumb so they cook through while the outside crisps up.
- 3/4 cup all-purpose flour: This is your base for crispiness; don't skip whisking it with the other dry ingredients first.
- 1/4 cup cornstarch: The secret to that extra-shatteringly crispy coating; cornstarch creates air pockets that toast beautifully in the oven.
- 1 teaspoon garlic powder, 1 teaspoon onion powder, 1 teaspoon smoked paprika: These three are the flavor foundation; the smoked paprika especially adds a depth that makes people ask what your secret is.
- 1/2 teaspoon salt and 1/2 teaspoon black pepper: Taste the batter as you mix to make sure you're happy with the seasoning before coating.
- 3/4 cup unsweetened plant-based milk: Soy, oat, or almond all work beautifully; cold milk mixes faster and creates a thinner, more clingy batter.
- 1/2 cup hot sauce: Frank's RedHot is classic, but any medium or hot sauce works; avoid overly thick varieties that won't coat evenly.
- 2 tablespoons vegan butter, melted: This mellows the sauce slightly and adds richness that keeps the coating from drying out during the second bake.
- 1 tablespoon maple syrup or agave: The sweetness balances the heat and helps the sauce caramelize slightly; don't skip this.
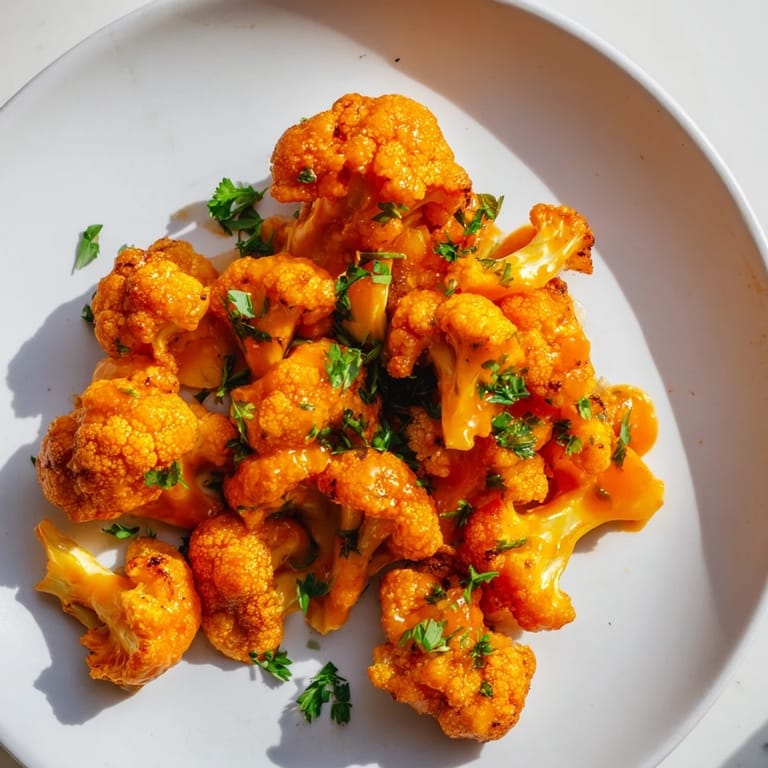
- Fresh parsley or chives for garnish: The fresh herb cuts through the richness and adds a pop of color that makes people want to dive in.
- Vegan ranch or blue cheese dip: For serving; homemade is worth it if you have time, but store-bought works perfectly.
Tired of Takeout? 🥡
Get 10 meals you can make faster than delivery arrives. Seriously.
One email. No spam. Unsubscribe anytime.
Instructions
- Heat your oven and prep the stage:
- Get that oven to 220°C (425°F) and line your baking sheet with parchment paper or a silicone mat; this prevents sticking and makes cleanup effortless.
- Mix your magic batter:
- In a large bowl, whisk together the flour, cornstarch, garlic powder, onion powder, smoked paprika, salt, and pepper—take thirty seconds to really combine everything so no clumps hide at the bottom. Pour in the plant-based milk and whisk until you have a smooth, yogurt-like consistency that coats the back of a spoon.
- Coat the cauliflower:
- Add your florets to the batter and fold gently with a spatula or wooden spoon until every piece is thoroughly wrapped in that creamy coating. Work in batches if your bowl feels crowded; overcrowding makes coating uneven.
- Arrange and bake the first round:
- Spread the battered florets on your prepared baking sheet in a single layer, leaving a tiny bit of space between each piece so hot air can circulate. Bake for 20 minutes, shaking the pan or flipping pieces halfway through with tongs—you're looking for a light golden color and a firm exterior.
- Make your sauce while they bake:
- In a small bowl, whisk together the hot sauce, melted vegan butter, and maple syrup or agave until smooth and glossy. Taste it—if it's too hot, add a touch more sweetness; if it's not spicy enough, add more hot sauce.
- Toss with sauce:
- Pull the cauliflower from the oven and let it cool for just two minutes so it's still warm but won't tear when you toss. Pour the sauce over and gently fold until every floret glistens with that fiery coating.
- Finish with a second bake:
- Return everything to the baking sheet and slide it back into the oven for another 10 minutes; this lets the sauce caramelize slightly and sets the coating so it stays crispy. You should see some darker, almost charred edges—that's where the magic happens.
- Garnish and serve:
- Scatter fresh herbs over the top, transfer to a serving platter, and set out that dip beside them. They're best eaten immediately while they're still warm and the exterior snaps when you bite down.
 Save
Save I've served these at three different dinner parties now, and every single time, someone asks if they're actually vegan. There's something about the texture and the way the sauce clings to each piece that makes people pause mid-bite and reassess their assumptions. That moment of pleasant surprise is exactly why I keep making them.
The Science of Crispy Coating
The cornstarch is doing the heavy lifting here—it absorbs less moisture than flour alone, which means your coating dries out faster and crisps up instead of turning chewy. The first bake gets you to the crispy stage, but it's the sauce and second bake that really lock in that texture while adding flavor. Think of it like two different cooking techniques working together; the initial bake is about moisture management, and the second is about caramelization and crispness.
Customizing the Heat Level
Not everyone wants their food blazing hot, and that's completely fair. Start with 1/4 cup hot sauce and taste the mixture before adding more; you can always crank up the heat, but you can't dial it back. If you're cooking for a group with mixed preferences, make two batches of sauce—one mild, one intense—and let people choose which bites they grab. I once made a batch with sriracha instead of Frank's, and the flavor was earthier, with a slower burn that built as you ate.
Timing and Make-Ahead Magic
You can prep these about two hours ahead by stopping after the first bake and letting them cool; store them in an airtight container at room temperature. When you're ready to serve, toss them with the sauce and bake for just five minutes instead of ten to heat through and set the coating again. For parties, this is a lifesaver because you're not stuck in the kitchen right when guests arrive.
- If you're serving them immediately, don't wait between the sauce toss and second bake—the contrast between warm and freshly crisped is what makes them unforgettable.
- Leftover bites reheat beautifully in a 200°C (400°F) oven for five minutes; they won't be quite as crispy as fresh, but they're still absolutely worth eating.
- The sauce can be made up to three days ahead and gently reheated before tossing; let it come to room temperature first so you don't shock the warm cauliflower.
 Save
Save These bites remind me why I love cooking for people—they're proof that bold flavors and satisfying texture don't need anything fancy or complicated. Serve them with cold dip, fresh vegetables, and good company, and watch them disappear.
Recipe FAQs
- → How do I get the cauliflower extra crispy?
For extra crispiness, broil the bites for 2-3 minutes at the end of baking or try air-frying at 200°C for 15-20 minutes, shaking halfway.
- → Can I make this gluten-free?
Yes, substitute the all-purpose flour with a certified gluten-free flour blend while keeping the other ingredients the same.
- → What variations can I try for the sauce?
Adjust hot sauce amounts for more or less heat, or add a touch of maple syrup to balance spiciness with sweetness.
- → What dips pair well with these bites?
Vegan ranch, blue cheese-style dips, or simple fresh herb garnishes complement the spicy cauliflower nicely.
- → Can I prepare this in advance?
You can prepare the batter and sauce ahead of time, but bake the cauliflower just before serving to maintain crispness.