 Save
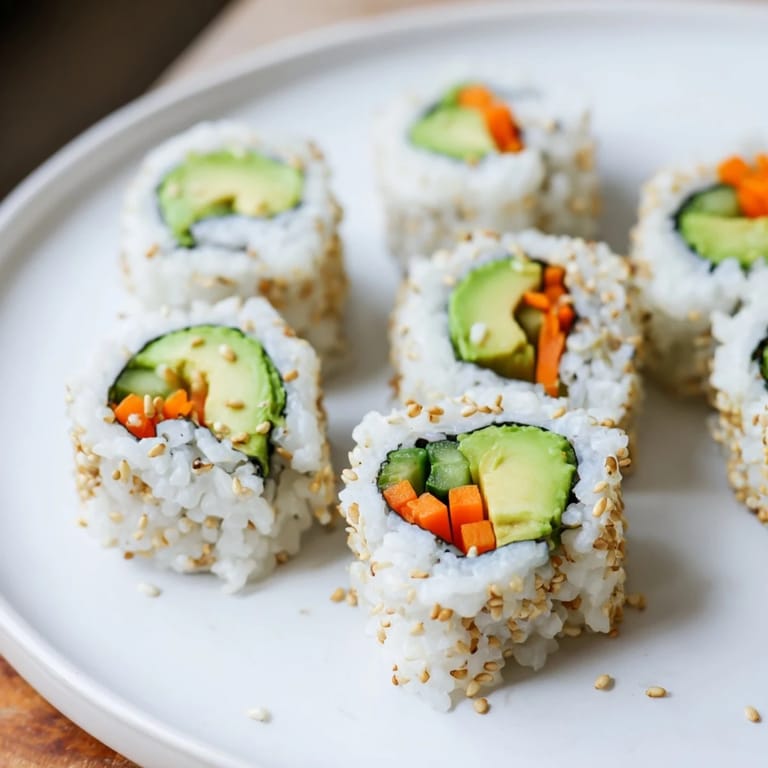
Save The first time I made sushi at home, I was convinced I'd need some secret technique I didn't possess. But then I realized the beauty of avocado and cucumber rolls—they're forgiving, honest, and taste like summer in every bite. My kitchen smelled like vinegared rice and nori, and I couldn't stop sneaking pieces before they even made it to the plate. There's something magical about rolling your own sushi; it feels like you're creating something fancy, but it's actually just fresh vegetables wrapped in intention.
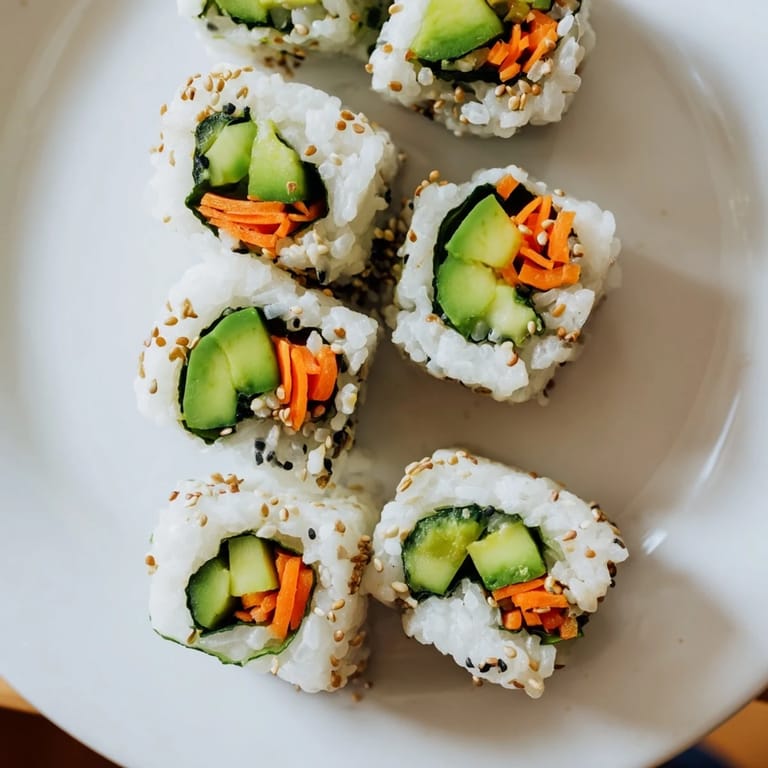
I made these for a picnic last summer, packed them in a wooden box with pickled ginger on the side, and watched my friend's face light up when she bit into one. She asked if I'd learned to make sushi professionally—I just laughed and said the secret was not overthinking it. That moment taught me that homemade sushi isn't about perfection; it's about sharing something you made with your own hands.
Ingredients
- Sushi Rice (1 cup): This is your foundation—sushi rice is starchy and sticky, which is exactly what holds everything together. Rinsing it removes excess starch, and the vinegar mixture wakes it up with brightness.
- Water (1 ½ cups): The ratio matters here; too much and your rice becomes mushy, too little and it's crunchy in the wrong way.
- Rice Vinegar (2 tbsp): This gives sushi rice its subtle tang and keeps it from tasting heavy or one-dimensional.
- Sugar & Salt (1 tbsp and ½ tsp): These balance the vinegar and bring out the rice's natural sweetness without making it cloying.
- Ripe Avocado: Look for one that yields slightly to gentle pressure; it should be creamy but not browning inside, and slice it just before assembling so it doesn't oxidize.
- Cucumber (½ large): Julienne it thin so it adds crunch without overwhelming the roll—thick pieces make rolling clumsy.
- Carrot (1 small, optional): Adds a whisper of sweetness and a pop of color that makes people smile when they bite in.
- Toasted Sesame Seeds (1 tbsp, optional): Sprinkle sparingly; they toast the nuttiness and create little pockets of flavor throughout.
- Nori Sheets (4): The seaweed wrapper that holds everything; quality matters here, so get sheets that feel crispy and smell like the ocean, not fishy.
- Soy Sauce or Tamari: For dipping—it's the final note that ties everything together, so don't skip it.
- Pickled Ginger & Wasabi (optional): These are palate cleansers and flavor accents; they're not essential but they make the whole experience feel more intentional.
Tired of Takeout? 🥡
Get 10 meals you can make faster than delivery arrives. Seriously.
One email. No spam. Unsubscribe anytime.
Instructions
- Rinse and Prep Your Rice:
- Hold the rice under cold running water and stir gently with your fingers until the water runs completely clear—this removes the cloudy starch that would make your rice gummy. This step feels tedious, but it's everything.
- Cook the Rice:
- Combine rinsed rice and water in a saucepan, bring to a boil uncovered, then cover and drop the heat to low. Let it simmer undisturbed for 18-20 minutes; you'll know it's done when all the water disappears and you see little steam holes on the surface.
- Season the Rice:
- While the rice is still hot, gently fold in a mixture of rice vinegar, sugar, and salt—the warmth helps the rice absorb the flavors. Use a rice paddle or wooden spoon and be gentle; you want separate grains, not mush.
- Cool and Prepare Your Station:
- Spread the seasoned rice on a wide plate or bamboo mat to cool to room temperature—this takes about 10-15 minutes and is the perfect time to set up your rolling mat with plastic wrap and slice your vegetables. Have a small bowl of water nearby for moistening your hands and sealing the nori.
- Layer Your Nori and Rice:
- Place a nori sheet shiny side down on your plastic-wrapped mat, then wet your hands and spread about a quarter of the cooled rice evenly over the nori, leaving a ½-inch border at the top. The rice should be thin enough to see the nori slightly through it, not thick enough to overwhelm the roll.
- Add Your Fillings:
- Arrange a line of avocado slices, cucumber julienne, and carrot sticks along the bottom third of the rice, keeping them centered and not too abundant—this is where most people overstuff and end up with a sloppy roll. A light sprinkle of sesame seeds on top adds texture without weight.
- Roll with Intention:
- Using the mat as your guide, lift the bottom edge of the nori and begin rolling tightly away from you, pressing gently as you go to keep everything compact. When you reach the top border, dab it lightly with water and finish the roll by pressing it closed—the moisture seals the seaweed like glue.
- Slice with a Sharp, Wet Knife:
- Using a sharp knife dipped in water (refresh between cuts), slice each roll into 6-8 pieces with one smooth motion rather than a sawing action. This keeps the nori intact and the fillings from squishing out.
- Serve and Savor:
- Arrange on a plate, set out small bowls of soy sauce, pickled ginger, and wasabi for dipping and palate cleansing. The moment from plate to mouth should feel celebratory, even if it's just you eating lunch.
 Save
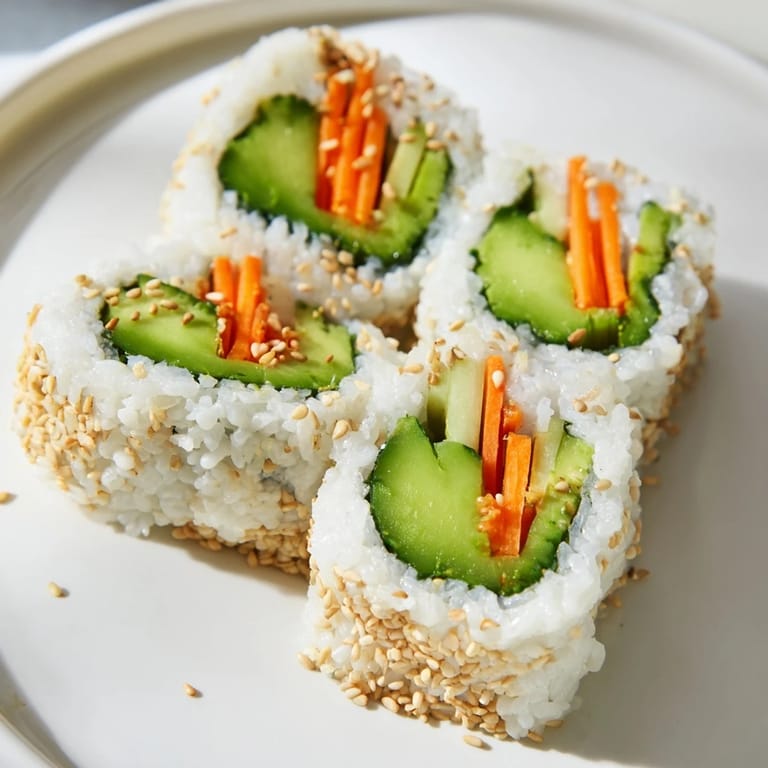
Save I'll never forget the sound of my nephew crunching through his first homemade sushi roll—his eyes got huge and he said, 'You made this?' That question changed how I thought about cooking. It wasn't about impressing anyone; it was about creating something simple enough to make again and again, yet special enough that people noticed the care.
Why This Works as a Quick Lunch
These rolls come together in less than an hour from start to finish, and most of that time is just rice cooling down. You can prep your vegetables while the rice cooks, so there's no waiting around feeling idle. Once you've rolled a few, your hands learn the rhythm and it becomes meditative rather than stressful—the kind of cooking that clears your head instead of filling it with worry.
Making It Your Own
The beauty of this recipe is that it's a framework, not a rulebook. Bell peppers add a slight sweetness and crunch, thinly sliced radishes bring a peppery bite, and tofu or tempeh strips turn it into something heartier if you're making it a meal rather than a snack. I once added thinly sliced mango to a roll on impulse, and it was the kind of happy accident that reminds you cooking should be playful.
The Small Details That Matter
It's the little moments that make sushi special—the smell of nori toasting slightly as you roll it, the way sesame seeds catch the light, the satisfying snap when you bite through the seaweed. These aren't complicated techniques, but they're the difference between something you made and something you'll remember making. Your fingers will learn the pressure needed to roll tightly without squashing everything, and your eyes will develop an instinct for the right amount of filling.
- If your nori feels flexible or soft instead of crisp, it's picked up moisture from the air—store it in an airtight container between uses and it'll stay perfect.
- Make extra rice seasoning; you'll probably want to taste and adjust as you go, and having a little extra means you're never short.
- If a roll falls apart or looks messy, it still tastes the same—perfection is less important than the fact that you made it yourself.
 Save
Save Making sushi at home strips away the intimidation and reveals the truth: it's just fresh vegetables and rice, rolled with care. Every time you make these, you're learning and getting better, and that's what cooking is really about.
Recipe FAQs
- → What type of rice is used for these rolls?
Sushi rice, a short-grain rice, is used for its sticky texture, which helps the rolls hold together.
- → Can I add other vegetables to the rolls?
Yes, additional veggies like bell pepper or radish can be added for variety and extra crunch.
- → How do I prevent the rolls from falling apart?
Using sticky sushi rice and a bamboo mat to roll tightly helps maintain the shape and keeps the filling secure.
- → What can I serve with these avocado cucumber rolls?
Common accompaniments include soy sauce or tamari, pickled ginger, and wasabi for extra flavor.
- → Are these rolls suitable for special diets?
Yes, they are naturally vegan and dairy-free. Using tamari makes them gluten-free as well.